In Clara.io, faces are polygon shapes with any number of sides. They are not necessarily planar or convex.
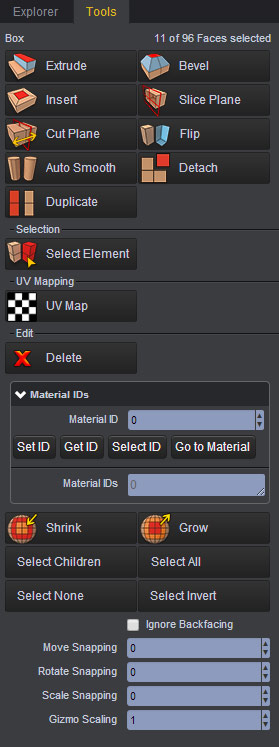
The Extrude operation pushes a face or group of faces along their normal by a distance of Length. New faces are added to connect them back to the rest of the mesh. The Extrude Type determines whether each face is extruded individually or as groups with an averaged normal.
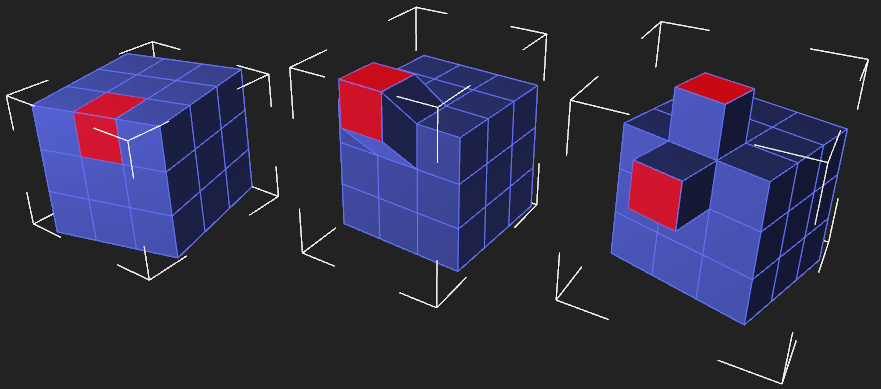
Selected faces (left), Extrude with Group - Average Normal (middle), and Extrude with Individual Polygons (right).
Same as Extrude, but allows you to set an offset, the number of segments along extrusion and change the curvature style. A bevel with an offset of zero with linear curvature, is equal to extrude.
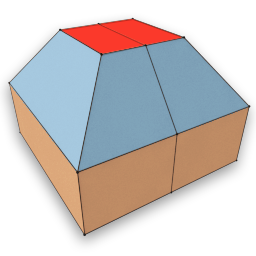
Length - Adjusts the length of the bevel extrusion.
Segments - Controls the number of segments involved in defining the bevel effect.
Offset - Modifies the scale of the extruded components using polygonal offseting.
Extrude Type - A selection between 3 types of Extrusions: Average Normals, Local Normals, and Individual Polygons. Refer to embedded scene to see the differences.
Curvature - Allows you to affect the Segments by choosing between Linear and Curve.
Selection - Displays the ID numbers of the components affected by the operator. Try entering your own digits, like 0-100, to see how you can transfer the effect to other components.
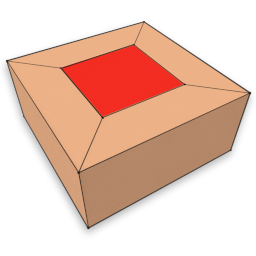
A quick extrusion of faces with no height is called Insert.
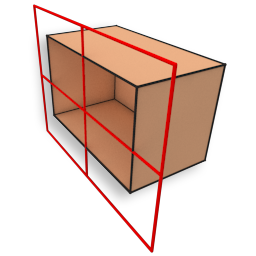
The Slice Plane operation creates edges on a mesh along a plane and deletes all faces on the other side of the slice. The direction can be flipped using the Flip property.
By clicking on Slice Plane, the intarctive slice mode starts. First and second clicks in the viwport determine the direction of plane for slicing. You may cancel this operation by pressing Esc key or right mouse click.
The Cut Plane operation is nearly identical to the Slice Plane operation, but it does not delete any faces. This difference comes from the Cut property being toggled.
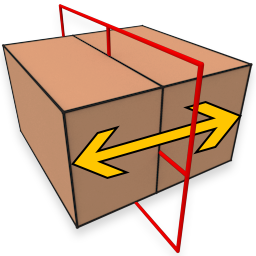
Same as Slice, by clicking on Cut Plane, the intarctive slice mode starts. First and second clicks in the viwport determine the direction of plane for cutting. You may cancel this operation by pressing Esc key or right mouse click.

Selected faces (left), Slice Plane (middle), and Cut Plane (right).
The Detatch operation separates the face from the rest of the mesh. The detached face will no longer share its vertices with its neighbors. This has no effect on faces without shared vertices. It can be detached as a new polyMesh node, or be part of the current mesh, based on Detach/Duplicated as PolyMesh checkbox.
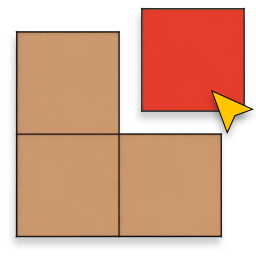
The Duplicate operation clones the selected faces. It can be duplicated as a new polyMesh node, or be part of the current mesh, based on Detach/Duplicated as PolyMesh checkbox.
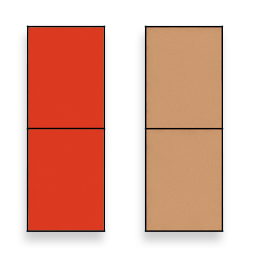
The Delete operation destroys the selected faces. This will produce holes in the mesh that may need to be fixed unless they are intended.
The Set ID operation assigns the ID in Material ID to the selected faces. Material IDs are used in conjunction with the MultiID material type. This allows us to assign different materials to particular faces of our object. Currently only the IDs from 0 to 9 can be used by a MultiID material.
The Select ID operation selects all faces using the ID given in Material ID. If no faces have the the given ID, the selection will be empty.
The Material IDs box displays all IDs assigned to the mesh. This box is read-only.