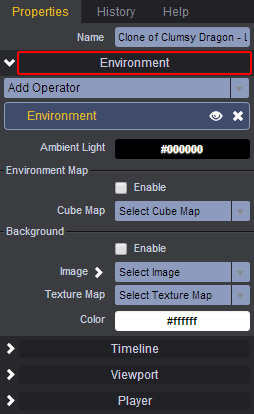
When embedding a Clara.io Scene Player into other websites, you can setup different background colors and even specify which camera you’d like to use. First, you’ll need to make sure nothing’s selected. To make certain that nothing is selected, simply click and drag on an empty space in the viewport. Then, from the Properties panel, click on Environment to access its options.

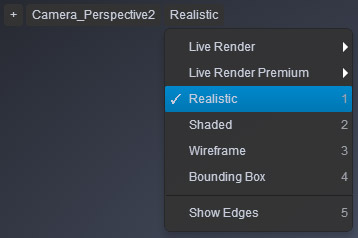
This controls the dark areas of your OpenGL shading. To see this in effect, you have to be in Realistic view. Realitic view can be activated from the drop down menu located at the upper left corner of your viewport. Alternatively, you could use the keyboard shortcut, 1.

You can learn more about the different viewing modes here.
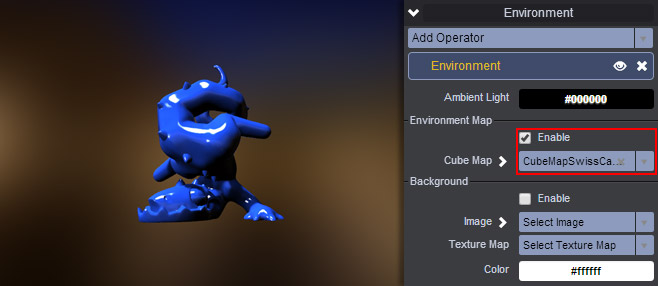
To see this in effect, you need to create a Cubemap. To do this go to Render > Materials > WebGL > Architectural > Cube Maps. Cube Maps are also available in the Metals and Plastics section of the WebGL library. Next, enable the Environment Map check box, and then select your Cubemap from the dropdown list.

To see this in effect, you need to enable the Background check box. You can choose to add a background from the Image drop down menu, or from the Texture Map drop down menu.
The Image only creates a static (non-editable) background image, whereas the Texture Map creates an adjustable background image.
To use the Texture Map, you first need to create it by right-clicking on Material Library > New > Texture Map. Then, select the Texture Map from the Material Library to access its properties panel. From there, select the image you want to use for the Texture Map background.
In the Background list, activate the Enable checkbox. Now click on the Color panel to change the background color. When you access the Player from the File menu, you’ll see that you have the currently selected background color assigned.
NOTICE - Enabling the Environment Map will cause it to take over the Background Image or Background Color.